User Guide
Clickvoyant is an AI-Data Analyst as a Service that that identifies growth-focused insights in 10 minutes. The proven strategies are applied to ensure success for every client.
Content
Start a free trial
Let's get started
Let's get started
You can sign up for a free trial valid for 30-days without entering your credit card details.
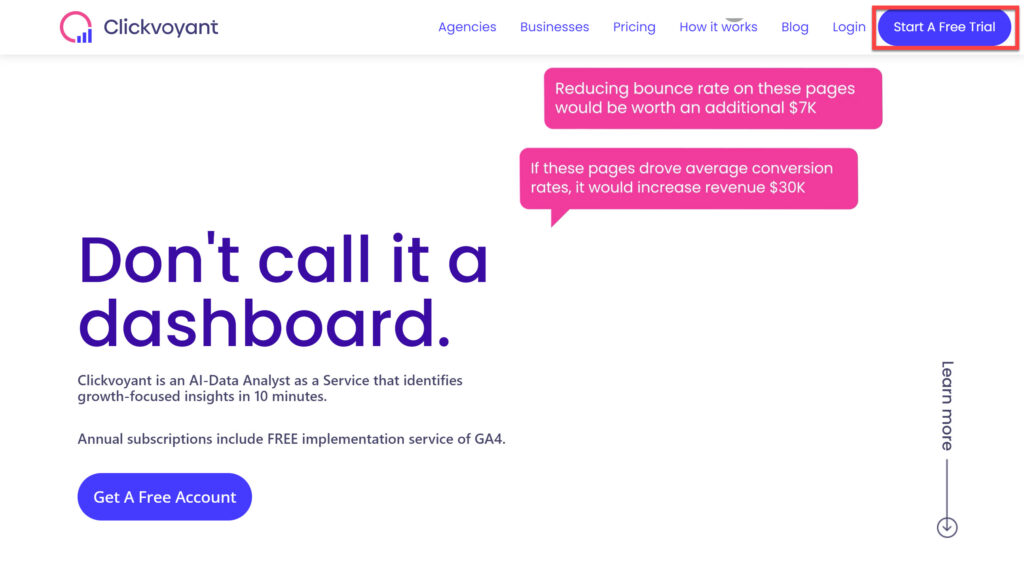
Click on the Start a Free Trial button available at the top bar of this website.
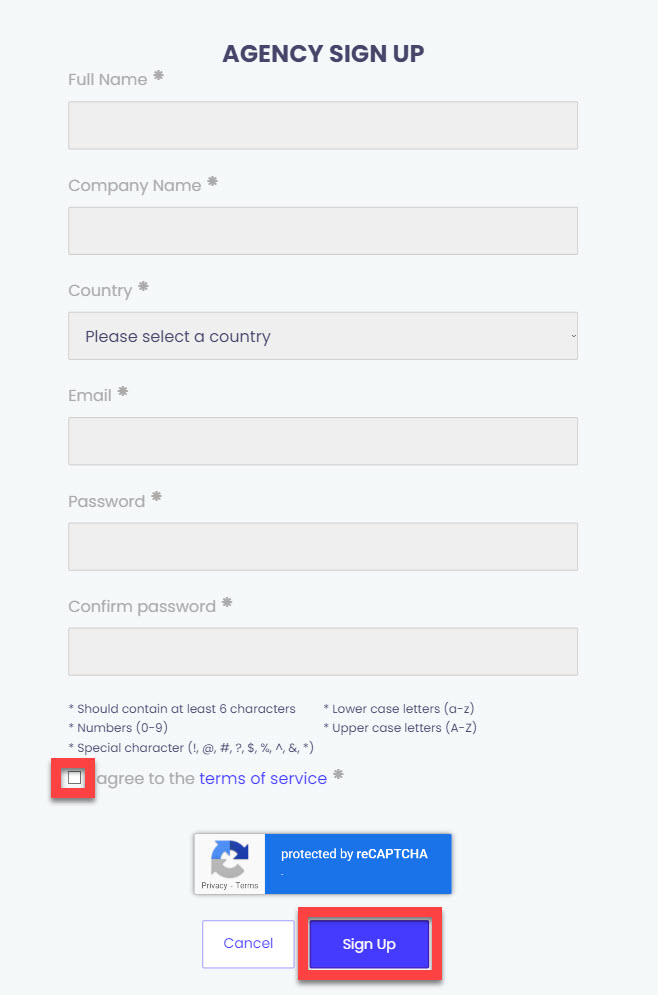
You will be redirected to the Agency Sign Up page as shown here.
- Enter Full Name and Company Name.
- Select your country from the available list.
- Enter your Email.
- Choose a strong password as per the suggestions mentioned
on the screen. - Make sure to read and accept the Terms and Conditions.
- Once you are done entering the details, click on the Sign-Up button.
You can sign up for a free trial valid for 30-days without entering your credit card details.
Click on the Start a Free Trial button available at the top bar of this website.
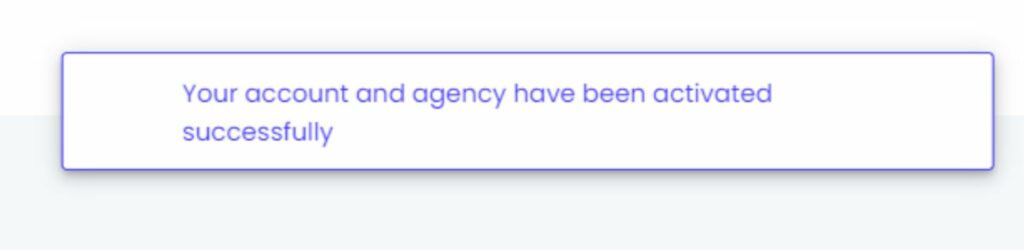
You will receive an email from Clickvoyant. To complete the account generation, click on the Confirm button provided in the email. You will be redirected to the website with the following successful prompt.
You will receive an email from Clickvoyant. To complete the account generation, click on the Confirm button provided in the email. You will be redirected to the website with the following successful prompt.
Login

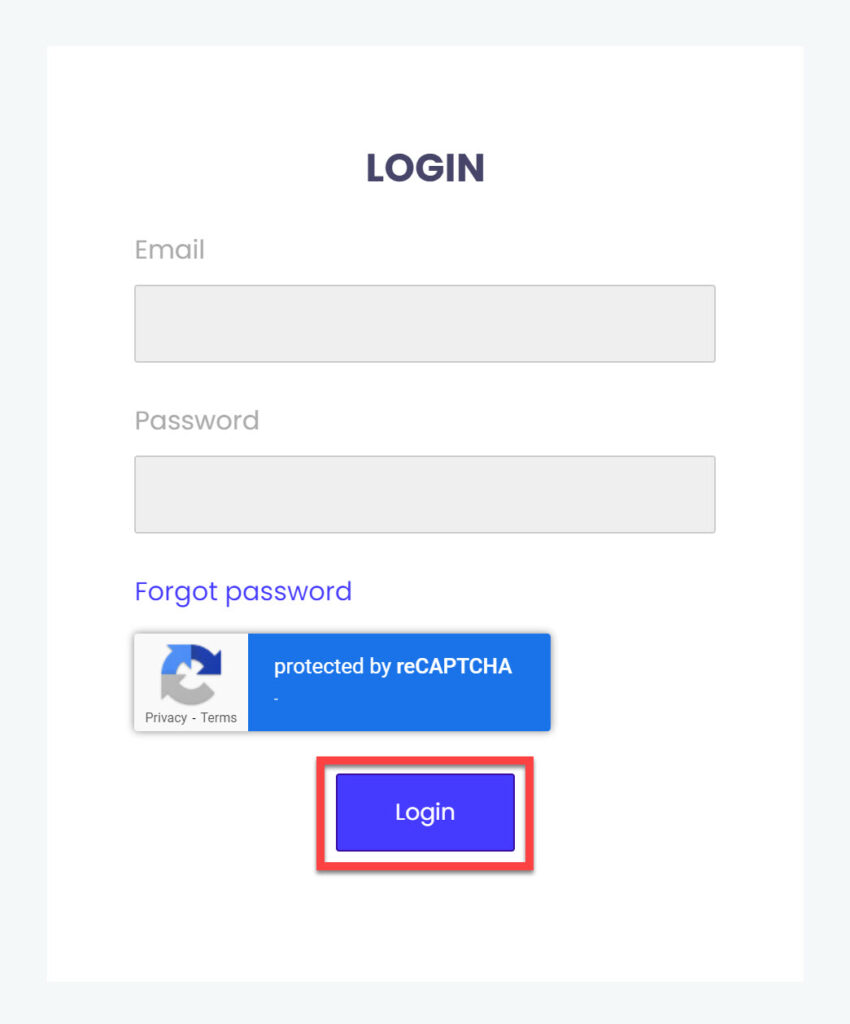
On our home page, please click on the Login link as shown here.
On our home page, please click on the Login link as shown here
Enter Email and password with which your account was created and click on the Login button.
You will be redirected to the home screen.
WELCOME – ADDING YOUR FIRST CLIENT
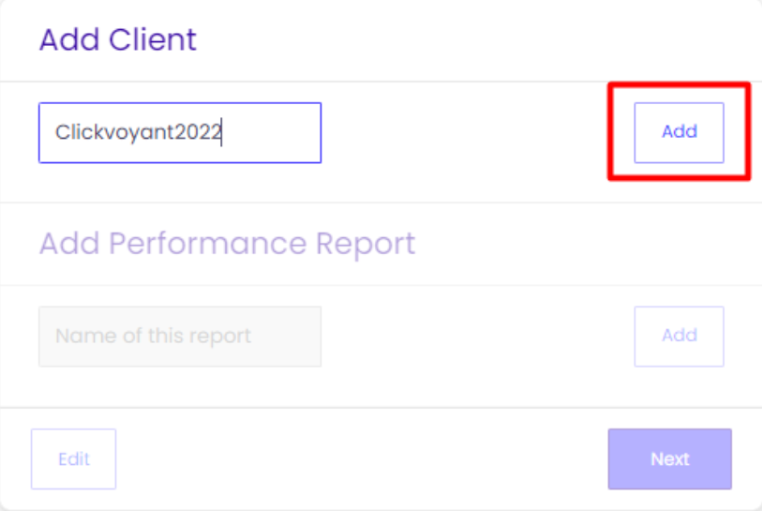
Once you successfully log into your account, you will be redirected to your home page and prompted to Add Client.
Write the name of your client in the textbox and click on the Add button.
Once you successfully log into your account, you will be redirected to your home page and prompted to Add Client.
Write the name of your client in the textbox and click on the Add button.
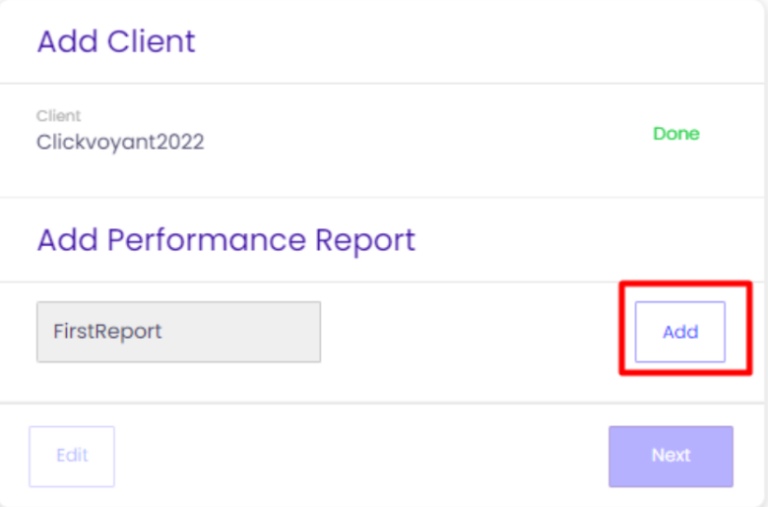
Write the name of the Performance Report and click on the Add button.
Once done, click on the Next button.
ADDING DATA SOURCE
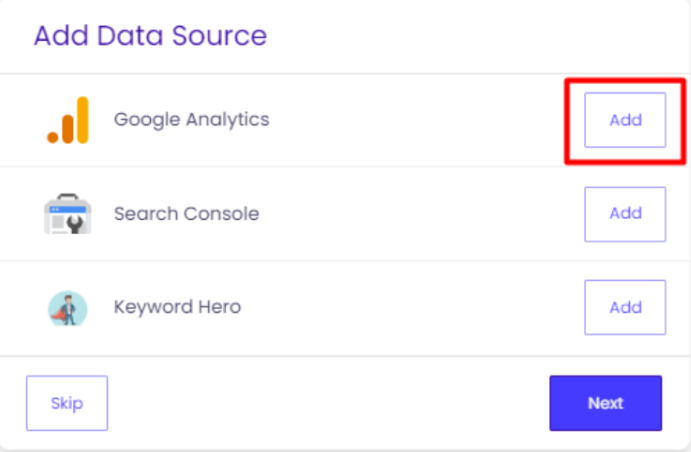
Next step involves connecting your project for analysis with a data source.
In this guide, we will be connecting with the Google Analytics.
Click on the Add button to proceed.
Next step involves connecting your project for analysis with a data source.
In this guide, we will be connecting with the Google Analytics.
Click on the Add button to proceed.
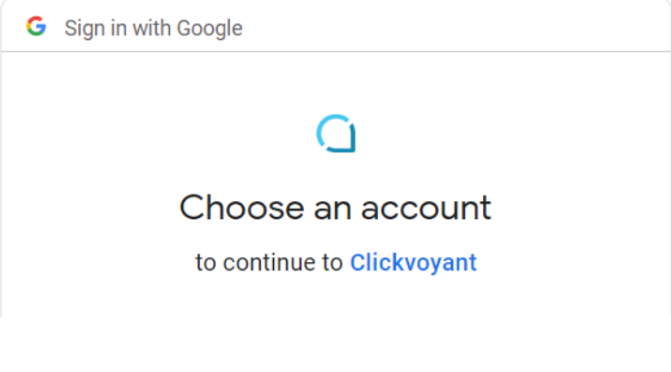
Next, you need to authorize your account with Google.
SELECTING ANALYSIS TYPE
There are four types of analyses available for you to pick from:
- eCommerce – Customers buy a product or a service on a site with a credit card or any other payment option.
- Lead Generation – Sites main goal is to collect contact emails, contact information, scheduled appointments, or meetings.
- Content – Sites main goal is to let people view or read content.
- Brand – Sites main goal is to provide information about the company, business or products.

Suggest a Data Source Name by writing in the textbox.
In this guide, we are selecting Lead Generation option. Once selected, click on the Next Step button.
DATA DETAILS

Select the Account, Property and what Views you would like to analyze.

Declare what goals you would like to analyze for by selecting options under Primary Goals and Secondary Goals.
Declare what goals you would like to analyze for by selecting options under Primary Goals and Secondary Goals.
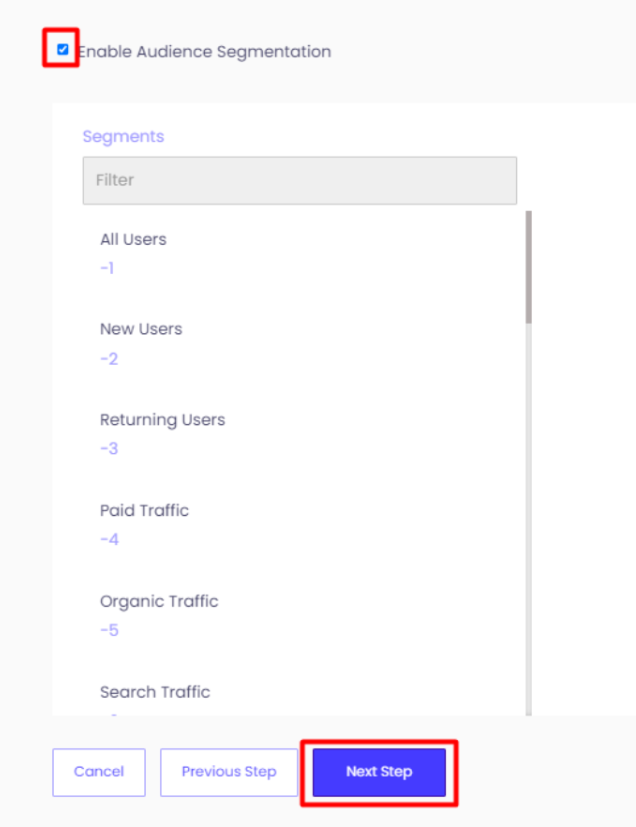
There is an option in case you would like to create an audience segment by selecting the checkbox for Enable Audience Segmentation.
Some out of the box segments from Google are listed and also any other data created by yourself.
This is an optional step.
Click on the Next Step button to proceed.
There is an option in case you would like to create an audience segment by selecting the checkbox for Enable Audience Segmentation.
Some out of the box segments from Google are listed and also any other data created by yourself.
This is an optional step.
Click on the Next Step button to proceed.
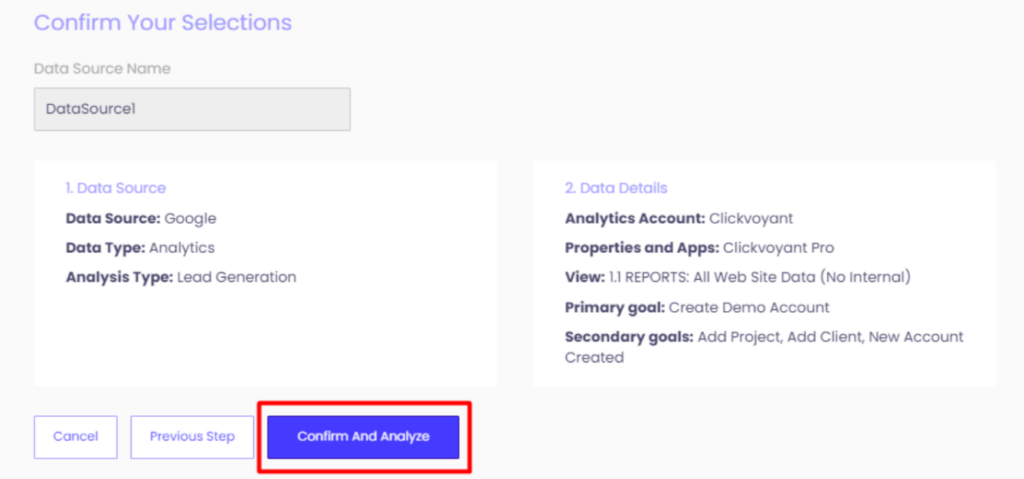
CONFIRMATION
Review the Data Source & Data Details information selected and click on the Confirm And Analyze button. If the report is being generated for the first time, it will take a few minutes to complete the process.
VIEWING PERFORMANCE REPORTS
On your dashboard, you will have the visibility of all clients added. Click on the desired Client Name as highlighted below.

If you have multiple clients added, you can use the Search textbox to filter the results.
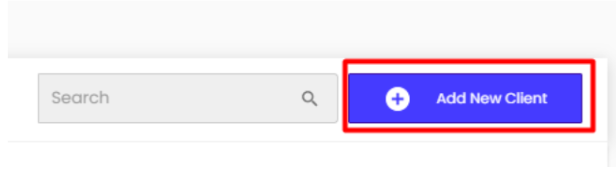
To add a new client, click on the Add New Client button.
To add a new client, click on the Add New Client button.
Click on the Performance Report you would like to review.
There are also options available against each report to Edit, Remove or Customize Slide Templates.

Click on the template reports as highlighted below.

You can view all the insights that were levelled up by Clickvoyant. Please note that it only populates what is statistically significant.
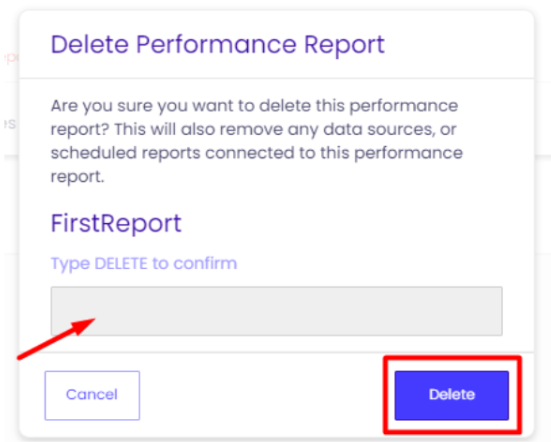
HOW TO DELETE PERFORMANCE REPORT
To delete the performance report, select the ‘delete’ icon against the report you no longer required. Please note that by deleting, you will be removing any data sources or scheduled reports associated with the report.

A pop-up will appear asking you to confirm the deletion process by typing the word ‘DELETE’ in the textbox.
Click on the Delete button.
Once deleted successfully, you will receive a prompt as shown here.
